Summer approaches and the desire for a crisp refreshing adult beverage calls for me to make an apple cider. I’ve never made one before, so we’re going to keep it nice and simple to see how quick and easy we can make a good cider.
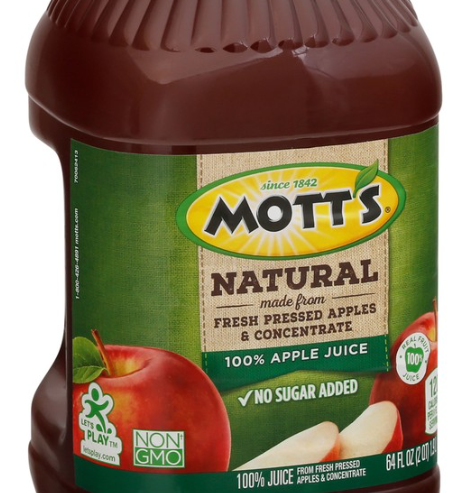
Clearly the first and most important thing is getting some apple juice. We could press the juice ourselves, but we’re looking for quick and easy, so let’s have someone else do the job for us! Enter Mott’s Natural Apple Juice, with an ingedeants list of apple juice, water and apple juice from concentrate. No preservatives, so vitamin C and lots of natural goop.
Next addition, apples. Variety is key here, so just as variety is the spice of life, it’s also what adds complexity and flavor to a cider. Normally the more types and colors you can get the better, but in this case I had a single checkout line and too many people buying stuff from a small grocery store, so I opted for all of the dark red varieties that I could put in a single bag and pass off as the same type. That way they didn’t have to ring up each one individually. I did have a granny smith already at home, so I did get at least one green apple in there.
Time to get started. As always first thing is to clean and sterilize all the tools and containers you will be using, my preference is to use Star San which is a no rinse sanitizer that has become a standard for most homebrewers. Next we need to kill anything wild yeast or bacteria on the apples. Normally you would heat some juice with the apples cubed to bring them to 160F or higher internal temperature, but then you have to wait for that juice to come back down to room temperature. I wanted this to be quick, so instead I cubed two apples at a time, stuck them in a sanitized bowl and microwaved them for 30 seconds. This brought them to an internal temperature of 170F and required no cooldown time for the liquid, all without impacting flavor.
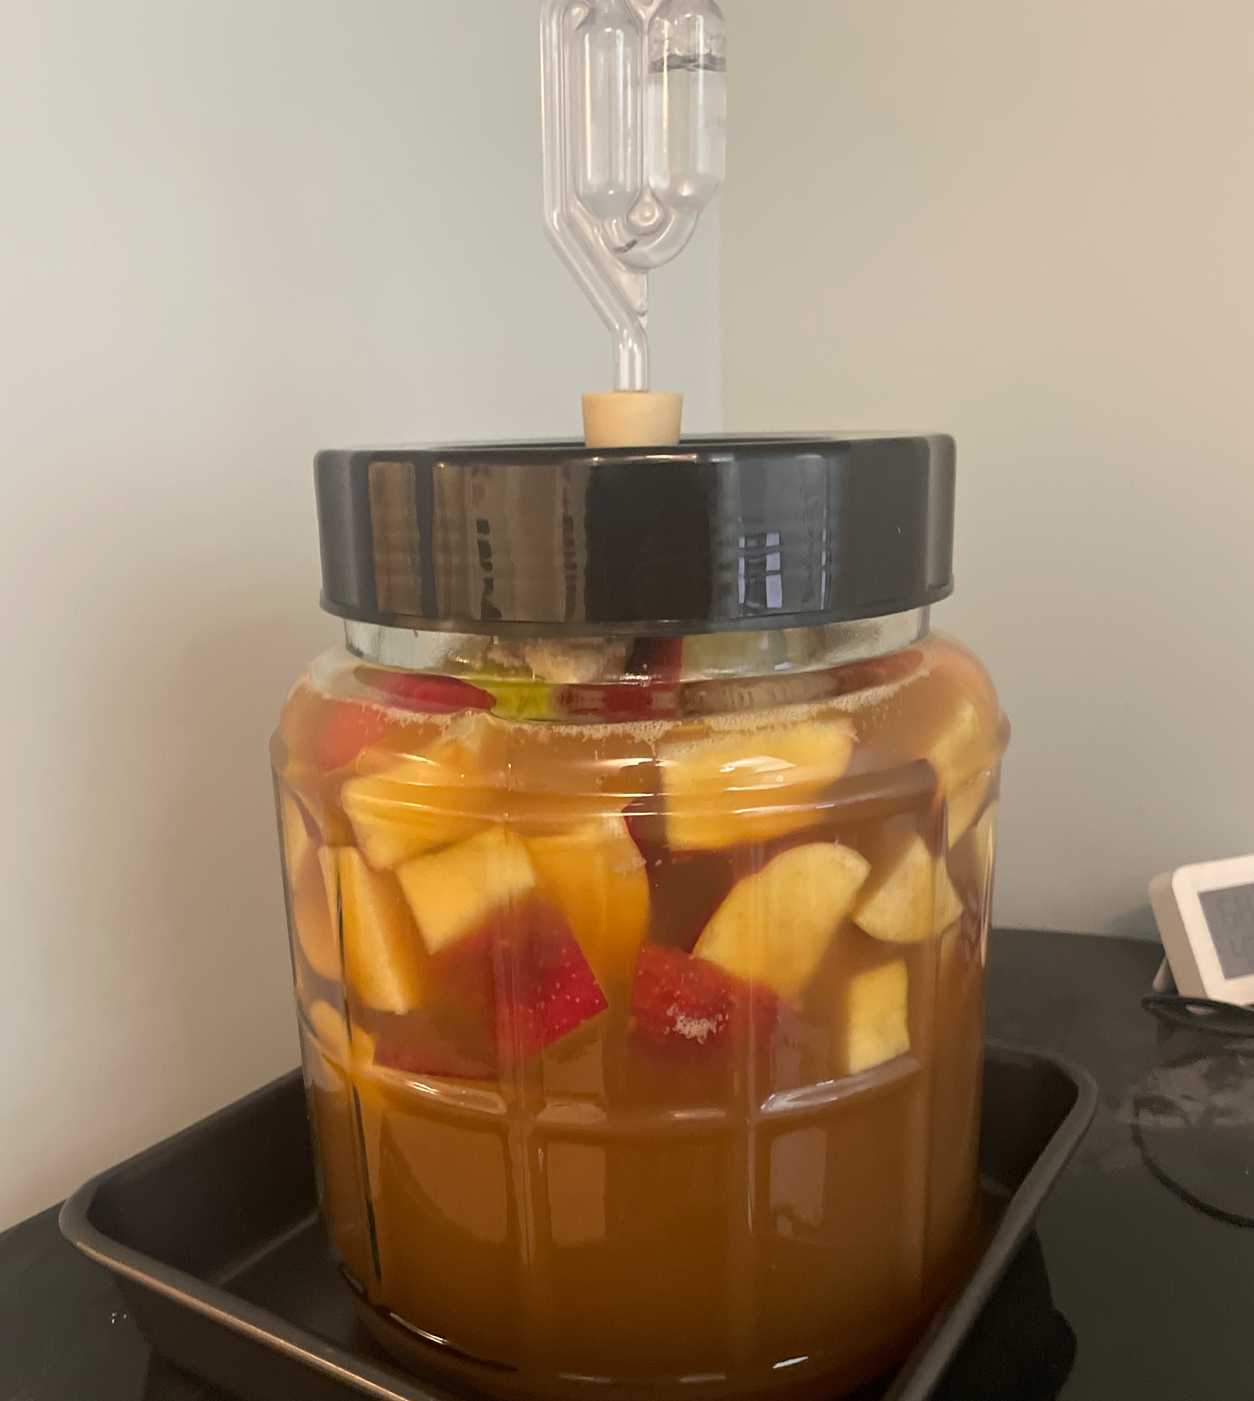
Added 1 cup of Lipton Black Tea (1 tea bag in 1 cup of water, steeped 5min) to the fermenter. Then throw the apples in, pour in the juice to fill, dump some Fleischmann’s Yeast on top, screw on the lid with an airlock and stick it somewhere for a week or two.

While the apples are in there, swirl the fermenter every time you walk by it to keep the fruit wet and help unstick and gasses trapped between the fruit. Every couple days sanitize a spoon and push the apples down from the top to cycle them a bit and help keep them from drying out. You probably don’t have to do that, but it take a few minutes every couple days and in my case I only had to do it once. In my environment the yeast had done it’s job in just 1 week, with a measured gravity reading of 0.998 and pretty much all airlock action done. At this point I transferred to a 1 gallon fermenter just to get the apples out of there, and let it go for a couple more days.
3 days to be exact. Zero airlock activity, and a gravity that didn’t move means it was time to bottle carbonate. Final volume was 112oz so I added 9tsp of white granulated sugar to the batch, stirred well, stirred some more then bottled into 7 16oz swing-top bottles.
Recipe/Alcohol
| Addition | Starting Gravity | Ending Gravity | Used | Alcohol Created | |
|---|---|---|---|---|---|
| Juice | Mott’s Natural Apple Juice | 1.044 | 0.998 | 0.046 | 6.0% |
| Apples | 6 Large Apple Various Types | 0.014 (est) | 0.007 | .007 | 1.0% |
| Black Tea | Lipton’s in 1 cup of water | – | – | – | – |
| Yeast | ~1tbsp Fleischmann’s Active Dry | – | – | – | – |
| Bottle Carb | 0.4% | ||||
| Final ABV | 7.4% |
Leave a Reply